How to Show Off Your Travel Souvenirs Without the Clutter
You get back from a trip with a bag full of memories-a coin here, a shell there, a carved mask you haggled for at a market. Then you unpack and realize you have nowhere to put any of it. Most travelers buy souvenirs with good intentions but end up stuffing them in drawers or stacking them on random shelves where they collect dust. A thoughtful travel souvenir display changes that. It turns your collection into something you actually see every day, a reminder of where you’ve been rather than another source of clutter. This article covers practical, realistic ways to organize, showcase, and store your keepsakes. It’s for collectors with growing piles, travelers with limited apartment space, and anyone tired of their souvenirs living in a box under the bed. You’ll get display methods that work, mistakes to skip, and buying advice that keeps your collection looking intentional, not chaotic.
Why Most Souvenir Displays Fail (and How to Avoid It)
It happens more than you’d think. You come home with a handful of items from different places, excited to arrange them, only to find it looks messy and unplanned. A few simple reasons lead to that, and avoiding them is pretty straightforward.
First, buying souvenirs without a plan. If you grab a ceramic mug in Portugal, a wooden carving in Bali, a snow globe in New York, and a shot glass in Prague, you now have four items that don’t naturally go together. Different sizes, materials, and styles crammed in one spot usually look cluttered. The fix is simple: decide what you collect before you travel. Maybe it’s only magnets, only postcards, or only small sculptures. Pick a category you actually enjoy and stick with it. Your future display will thank you.
Second, mixing too many types of items. Even if you have a specific collection going, resist throwing in unrelated pieces. A shelf with masks, keychains, and postcards looks busy and is hard to read. Group by type, region, or color. That keeps the eye from bouncing around without focus.
Third, ignoring lighting and dust. You put souvenirs on a shelf in a dark corner and call it done. Then you notice dust settling on delicate textiles, ceramic glazes fading from direct sun, or tiny shells disappearing into shadow. Before you arrange anything, think about where it’ll go, how much natural light hits that spot, and whether dust will be a problem. Simple fixes: avoid direct sunlight, use compressed air for dust removal weekly, and consider glass-front cabinets for fragile items.
Finally, plan for future additions. If your collection is five items now but you travel every year, leave room to grow. Don’t pack a shelf so tight you can’t fit another piece without rearranging everything. It actually looks better with some breathing room anyway.
Shadow Boxes: Best for Small, Fragile Items
Shadow boxes are one of the most effective display methods for small souvenirs that are fragile, oddly shaped, or prone to dust damage. They work because they have depth-usually one to three inches-letting you mount items in three dimensions rather than just pinning them flat.
What goes into a shadow box? Coins, seashells, small figurines, arrowheads, pressed flowers, keychains, bottle openers, tiny carvings, even beach sand in small vials. Since the box has glass in front, dust is minimized, and you can mount items using pins, adhesive putty, or hot glue depending on weight. It’s a particularly good solution if you have a small collection of varied items from many different places, because each box can represent one trip or one category. Travelers looking for a ready-made solution might consider a shadow box frame to get started quickly.
There are two main approaches. You can buy a pre-made shadow box frame, usually at craft stores or online, and arrange items inside yourself. Or you can get a complete kit with mounting supplies, a backing board, and a frame. For most people, going DIY is cheaper and gives more control over the layout.
When selecting a shadow box, pay attention to depth. One to two inches is enough for coins, shells, and flat items. Three inches or more is better if you want to mount bulkier pieces like a small mask or carved animal. Common sizes include 8×10, 11×14, and 12×12. Larger sizes work well for grouping items from one country or one trip.
Shadow boxes compare favorably to standard frames for fragile items. A standard frame presses everything flat and offers less dust protection. Shadow boxes give items room to breathe and keep them clean. If you have shells or sand, this is the better choice. For a collection of small keepsakes you want to protect, shadow boxes are hard to beat.
Floating Shelves: Ideal for Curated Collections
Floating shelves are the opposite of shadow boxes in almost every way. They’re open, flexible, and visible from every angle, making them ideal for larger souvenirs that won’t fit inside a frame. Think masks, pottery, snow globes, beer steins, lanterns, carved animals, or woven textiles folded and draped.
The main advantage is you can change the arrangement as often as you like. Add a new piece from your latest trip, move an old one to a different spot, and everything feels fresh. No disassembling a box or removing glass. It’s an adjustable system that grows with your collection.
Arranging items on floating shelves takes some thought. Group by region: put all your Southeast Asian masks on one shelf and your European pottery on another. Or group by color: warm tones together, cool tones on a different shelf. Or group by size: heavy items on the bottom, lighter items above. The goal is to create visual cohesion. Avoid scattering items randomly.
Pay attention to weight limits. Some floating shelves hold only a few pounds. If you plan to display a heavy ceramic vase or stone carving, choose shelves with metal brackets and a higher weight rating. Install them at eye level for maximum impact. If you have pets or small children, avoid placing fragile items on lower shelves within knocking range. For those needing reliable hardware, a sturdy set of heavy duty floating shelves can handle the load.
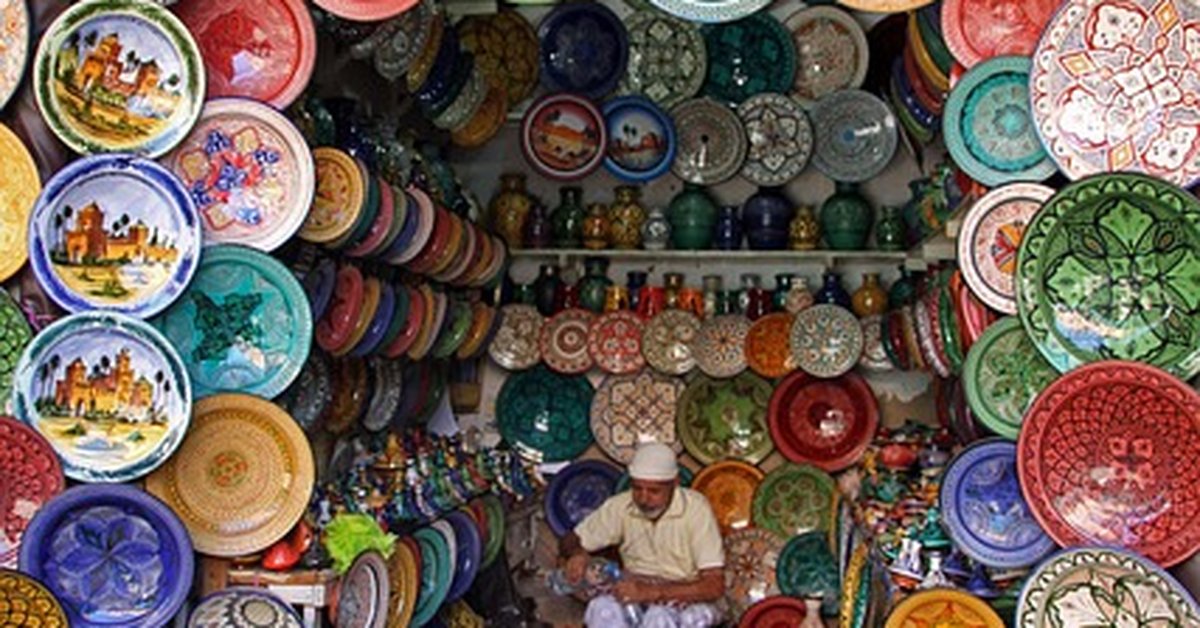
Floating shelves are better than traditional bookcases for visible storage because they take up less visual space. A bookcase feels like furniture. A floating shelf feels like part of the wall. If you want the souvenirs themselves to be the focus, floating shelves are the way to go. They work best for people who enjoy rearranging and want their collection to stay dynamic.
Shadow Box vs. Floating Shelf: Which One Fits Your Collection?
If you’re trying to decide between these two main approaches, consider your specific collection and how you plan to use it. There’s no universally better option-just what fits your items and your living space.
Shadow boxes offer dust protection and organization. Since everything is behind glass, you don’t have to clean each individual souvenir. They force a curated approach because you have to decide exactly which items go inside and how they fit together. Access is limited, though. To swap items, you need to open the frame and re-pin things. Shadow boxes are ideal for small, fragile, or flat items from many trips, especially if you want them displayed neatly without constant upkeep.
Floating shelves give you flexibility and visibility. You can see items from all sides, which matters for chunkier souvenirs. You can add or remove pieces instantly. The tradeoff is dust. Open shelves require regular dusting. If you live in a dusty area or have a cat, you’ll be wiping things down every week. Floating shelves work best when you have one standout piece from each destination, durable items like pottery or metalwork, or when you want to rotate the arrangement frequently.
The easy decision rule: if your collection is mostly tiny items like pins, coins, or shells from many different places, go with shadow boxes. If you have larger, heavier pieces and enjoy changing the display regularly, go with floating shelves. If you have both types of items, combine them. Use a shadow box for small fragile keepsakes and floating shelves for the bigger pieces. You get dust protection where you need it and flexibility where you want it.
Rotating Displays: How to Showcase More in Less Space
If you live in a small apartment or share a house with limited wall space, a rotating display can be a smart solution. Lazy Susans, multi-tiered turntables, or acrylic display stands let you pack more souvenirs into a compact footprint while still keeping each item visible.
These work best for small, uniform items. Think shot glasses, thimbles, keychains, magnets, or small beer steins. You can organize them by trip, by country, or by type, and spin the display to find specific ones. A mirrored lazy Susan adds an extra visual layer, reflecting the items and making the display feel larger than it is. A practical lazy Susan display stand can be a smart choice for keeping things organized and accessible.
Practical tip: place the rotating display on a coffee table, desk, or kitchen counter. It becomes a conversation piece when guests visit. You can label the bottom of each item with a tiny sticker or a Sharpie dot indicating the destination if you want to track provenance. For people with large collections of small, durable items, a rotating display saves space and keeps everything accessible.
Acrylic displays offer a cleaner look and are less prone to scratching. Wooden turntables feel warmer and more traditional. Choose whichever matches your existing decor. Avoid overloading the display-rotation becomes awkward and items may tip over. Stick with two to three tiers for a compact footprint.
Gallery Walls: When You Have More Souvenirs Than Space
Gallery walls solve the problem of having more souvenirs than you have surface area for. Instead of spreading items across separate shelves, you group them together in a concentrated visual arrangement. This works particularly well for flat or shallow items like postcards, maps, pressed leaves, and small shadow boxes.
The approach is simple. Collect your framed items and lay them out on the floor first. Move pieces around until the arrangement feels balanced. Then transfer the layout to the wall using paper templates or careful measurements. Use uniform frames for a cohesive look, or complementary frames that share a color or material. Consistent spacing between frames-usually two to three inches-keeps the wall from feeling chaotic.
A common mistake is overloading with oversized frames. If every piece is large, the wall feels heavy and busy. Mix in smaller items and leave some negative space. Another mistake is using frames that clash in color or style. Stick to two or three frame types max.
Gallery walls work best when you have a large collection from many destinations. You can arrange items by region, by trip date, or just by aesthetic appeal. It’s also a good way to incorporate non-souvenir elements like a world map or travel photos to tie everything together. A gallery wall shows more variety, a map display emphasizes geography. Choose based on what tells your story better.
The Problem with Dust: Display Cabinets with Doors
Dust is the silent enemy of any souvenir collection. It settles into crevices, dulls finishes, and embeds itself in fabric fibers. If you collect delicate textiles, beaded jewelry, sand art, or handmade pottery, open shelves will cause gradual damage. The solution is a display cabinet with glass doors.
Curio cabinets, vitrines, and glass-door bookcases serve the same purpose: they keep items visible while protecting them from dust and airborne particles. The IKEA Detolf is a well-known budget option, typically under $100, and works well for medium-sized collections. Larger curio cabinets with lighting can cost $200 to $300 and accommodate bulkier items. The key consideration is whether you have floor space for a cabinet and whether the cost is justified by the value of your collection.
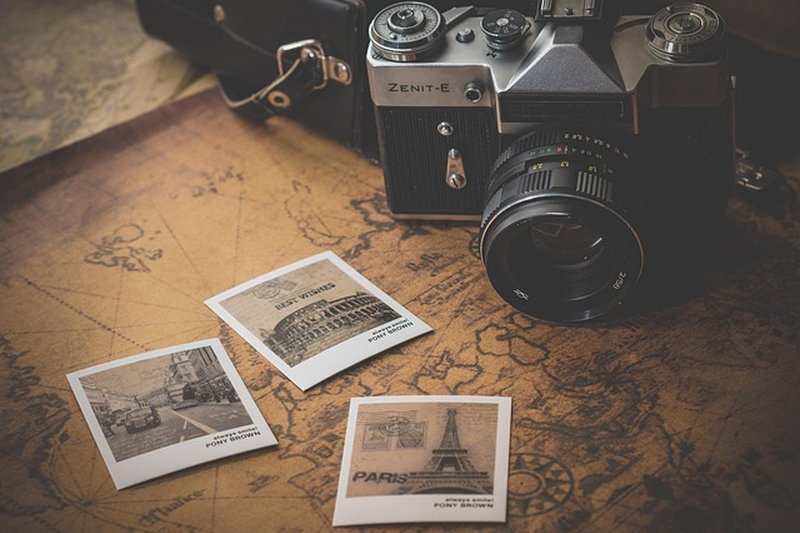
If your souvenirs are irreplaceable-like handmade pottery from a specific artisan or a carved tiki from a remote island-the investment in a glass cabinet is worth it. The dust protection alone prevents long-term damage. You also eliminate the weekly dusting chore. For casual collections of durable items like magnets or plastic figurines, open shelves are fine. Know the difference.
The Sheldon Coin Grading Scale runs from 1 (Poor) to 70 (Mint State), with most collectible coins falling in the VF-20 to MS-65 range for serious collections.
Coin values can range dramatically by grade – an MS-65 example can be worth 10–50× more than the same coin in VF-20 condition, making professional grading essential for pieces valued over $500.
Glass cabinets also prevent accidental knocks. If you have cats, children, or clumsy roommates, a cabinet with doors keeps your collection safer. Compare this to acrylic display boxes which offer similar dust protection but are harder to clean and less visually appealing in a living room setting.
Souvenir Display by Type: Magnets, Coins, and Postcards
Some souvenirs are so common they deserve their own category-specific display methods. Here are practical solutions for three of the most popular collector items.
Magnets. Magnetic boards are the obvious solution. You can buy a metal sheet designed for display, mount it on a wall, and stick your magnets to it. This works better than a refrigerator because you control the layout and avoid kitchen clutter. If you want a more decorative approach, frame a magnetic board inside a picture frame for a clean look.
Coins. Coins are small and easily scratched. The best display method is a shadow box with coin holders-small plastic capsules that protect each coin individually. You can lay them out in rows inside a shadow box for a neat, museum-like presentation. Glass-topped jewelry boxes also work, with individual compartments for each coin. Avoid tossing loose coins into a bowl unless you don’t care about scratches.
Postcards. Postcards come in standard sizes, making them easy to organize. Flip-through albums keep them protected and easy to browse. If you want them visible, consider a framed postcard grid, where you secure each postcard in a small slot within a larger frame. Hanging bunting displays, where you clip postcards to a string, are an inexpensive and temporary option. For a more permanent solution, use postcard albums with clear sleeves. A postcard display frame can be a practical upgrade for showing off your collection.
Each method keeps souvenirs organized by type and prevents them from going missing. Specialized storage costs less than replacing lost or damaged items.
Budget-Friendly Display Hacks (Under $20)
Not every display needs to cost much. Here are a few ideas that keep your collection visible without breaking the bank.
Corkboard and pushpins. Mount a corkboard on the wall and use pushpins to attach postcards, tickets, maps, and photos. You can rearrange the layout instantly. Best for flat paper souvenirs from multiple trips. Cost: about ten dollars for a medium corkboard.
Cake stand with glass dome. Repurpose a cake stand or a clear cake dome from a thrift store. Place small souvenirs inside the dome and display it on a table. This adds a vintage feel and keeps dust away. Best for tiny fragile items like thimbles or miniature statues.
Clothesline display. String a thin wire or twine across a wall and use mini clothespins to hang photos, postcards, and fabric souvenirs. It’s a temporary solution that works in dorms or rented apartments where you can’t drill holes. Best for lightweight items.
Clear shoebox. Store loose items like shells, coins, or small keychains in a clear shoebox and stack multiple boxes on a shelf. You can see the contents without opening the box. Best for overflow items you want to access occasionally.
These hacks cost under twenty dollars each and can be upgraded later. They’re a good starting point for new collectors or travelers on a tight budget.
Travel Souvenir Display Mistakes to Avoid
Even with good intentions, beginners make a few common errors. Here are the ones to watch out for.
Direct sunlight. Sunlight fades colors on paper, fabric, and painted surfaces. If your display gets direct sun, move it to a shadier spot or install UV-protective glass in frames.
Shelves that are too deep. Deep shelves swallow small items. Objects at the back get lost in shadow. Choose shallow shelves or use risers to bring items forward.
Mixing dust-prone items with fabric. Placing textiles near dusty items like sand or dirt causes embedded stains. Keep textiles in closed cabinets or shadow boxes.
Ignoring wall studs. Heavy items require wall anchors or studs. Hanging a large shadow box or shelf into drywall alone risks collapse. Use a stud finder and proper hardware.
Forgetting to leave room for growth. Overcrowding a display makes it look messy and adds stress when you return from a trip with new finds. Leave at least 20% empty space.
Using adhesive mounts for heavy items. Command strips work for lightweight frames. They don’t support heavy pottery or large shadow boxes. Use screws for anything over five pounds.
These mistakes are easy to fix if you catch them early. Checking your display setup once a year for damage or fading prevents long-term problems.
Frequently Asked Questions
How do I display large souvenirs?
Use tall glass cabinets or corner shelves. Large items like statues, masks, or pottery need a dedicated spot where they have room to breathe without crowding everything else. Corner shelves are effective for bulky items because they use otherwise wasted space.
Can I mix souvenirs with plants?
Yes, but with caution. Plants release humidity, which can damage paper, fabric, and some wooden souvenirs. Keep plants on the bottom shelf and moisture-sensitive items on upper shelves. Avoid placing plants directly above paper souvenirs.
What if I rent and cannot drill holes?
Use adhesive hooks, leaning frames, or tension rods. Floating shelves with strong adhesive strips work for lightweight collections. For heavier items, consider freestanding display stands or floor-to-ceiling tension pole shelves that require no drilling.
How do I organize by trip without labels?
Group items by color or height. You can also arrange them chronologically from left to right based on memory and photo verification. Without labels, the visual grouping becomes the organizational system. If you need specific trip identification, use small numbered stickers and keep a written list.
What is the best way to display sand?
Small glass jars or bottles with cork stoppers work well. Label each jar with the location and place them together on a shelf or inside a shadow box. Use jars of uniform size for a clean look, or varied sizes for a more collected feel.
How do I clean souvenirs on open shelves?
Use a soft paintbrush or compressed air for delicate items. For durable items, a microfiber cloth works. Never use water on paper or fabric souvenirs. Dust open shelves weekly to prevent accumulation.
Final Tips for Building a Souvenir Display That Lasts
Building a display that works for years comes down to planning ahead. Before you buy your next souvenir, think about where it will go. If you don’t have space for a shadow box or shelf, reconsider the purchase. A collection that fits your home is more satisfying than one that overflows it.
Choose dust-proof solutions for fragile items. Use shadow boxes, glass cabinets, or acrylic domes. Rotate displays occasionally to keep things fresh. If you travel often, set up a rotation system where you swap items from storage into display every few months. It keeps your collection feeling new without adding clutter.
Start small. One shelf or one shadow box is enough to begin. You can always expand. Your souvenirs are meant to be seen and enjoyed, not hidden away. The right display makes them part of your daily environment rather than a forgotten box in a closet.